

")
Sara Williams
Saskatchewan Perennial Society
Long lived and long flowering, the coral bells listed below have been a stalwart of my prairie garden for decades. The pink to red flowers emerge faithfully in early June and continue blooming for well over a month. The genus was named to honor Johann Heinrich von Heucher (1677-1747), a professor of medicine at Wittenberg, Germany. Coral bells describes the dainty, bell-like flowers in shades from pink to red. The older common name, seldom heard now, is alumroot and refers to the high concentration of tannin in the roots, a compound once used to stop bleeding.
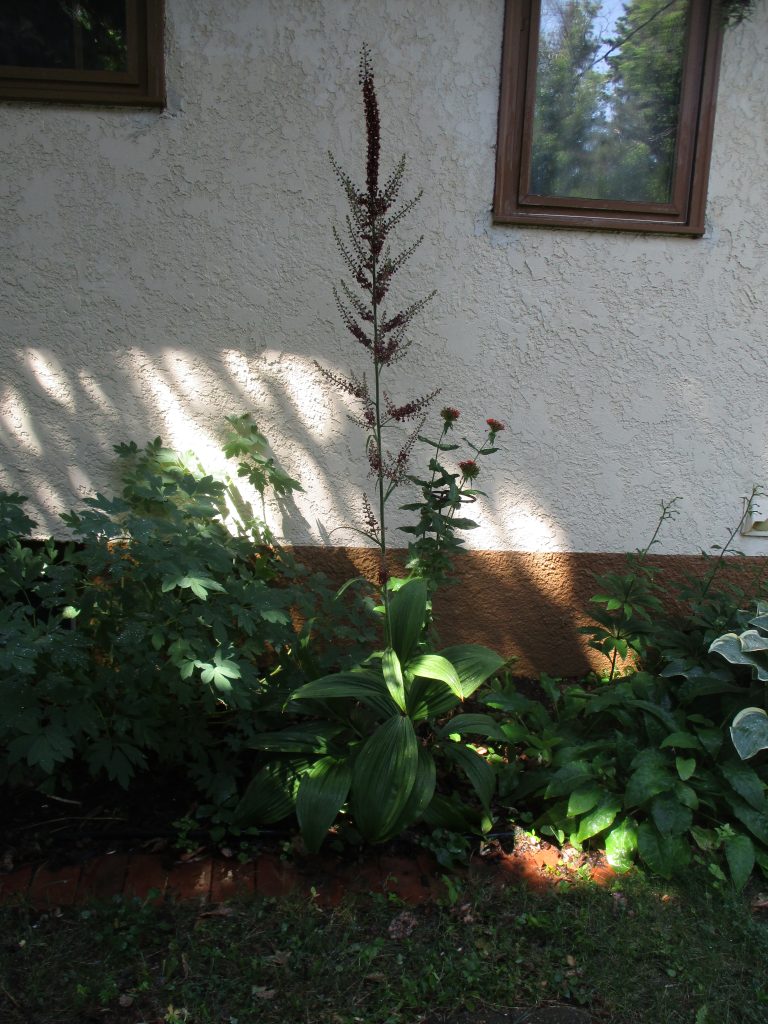
A myriad of tiny pink to red, bell-shaped flowers are held on slender wiry stems of 50 to 60 cm (20-24 in.) above a basal rosette of foliage. The dark green, semi-evergreen leaves are rounded to heart-shaped with scalloped margins. As Henry Marshall noted, “Heuchera foliage is frequently evergreen, resembling a geranium leaf in outline and texture.” The woody crown slowly increases to form larger clumps but is never invasive.
Coral bells flourish in full sun to light shade (but with less flowering in shade) in average, well-drained soil. Deadhead them to prolong flowering. They are exceptionally drought-tolerant once established
They are lovely toward the front of a perennial border, as a massed ground cover or in a rock garden. Coral bells are easily increased through division in early spring.
Varieties
In the last decade or so an amazing array of coral bells, with unique leaf colours and patterns, many in alluring purples, bronzes and silvers, have flooded the prairie market. Most were developed in Britain, Europe or the United States. Few were tested for hardiness in northern zones prior to their release and almost none of these has proved to be enduring, most lasting only two or three years. A new strain is emerging with some of its parentage coming from our native Heuchera richardsonii that hopefully will combine beautiful foliage with a tougher constitution.
For now, the Morden hybrids, bred by Henry Marshall who crossed H. sanguinea with H. richardsionii in Manitoba beginning in the late 1950s, are our best bet.
‘Brandon Pink’ (1957) has bright, coral-pink flowers in July. It is about 60 cm (2 ft) in height, with dense, almost evergreen, faintly mottled foliage. It is vigorous, drought and wind tolerant. Mature plants may have 50+ flowering stems.
‘Brandon Glow’ (1967) has darker pink flowers in a more open panicle and is slightly shorter at 45 cm (20 in.) with distinctly mottled green and white foliage.
‘Northern Fire’ (1979), a seedling of ‘Brandon Pink’, has currant or dark red flowers and is about 60 cm (2 ft) in height. It blooms for 6 weeks from June to early July with attractive foliage all summer.
‘Ruby Mist’ has dark green, evergreen foliage and ruby red flowers on 45 cm (18 in.) stems. It has a longer bloom period than ‘Northern Fire’.
Sidebar: Henry Marshall (1916-1994)
Born near Miami, Manitoba, except for the war years, he never strayed far from that area. His formative years coincided with the drought and depression. Although his formal education ended with grade nine, he later taught himself botany, genetics and statistics. Both of his parents were interested in horticulture and obviously passed that interest onto him.
He began work at the Morden Research Station and married Geneviere Evangeline (Eva) Foresman in 1940. They were to have four sons. Henry served with the Canadian Army in Holland and Germany from 1943 to 1946. He rarely spoke of those years except for the time while waiting to be shipped home from England when he was able to take a horticulture course at the John Innes Institute.
After the war he was employed as a gardener at the Brandon Research Centre where he began plant breeding, an activity with which his superiors were not always happy. During his career at Brandon and later Morden (1970-1981), he introduced hardy chrysanthemums, coral bells, monarda, roses and lilies as well as the ‘Starfire’ tomato, all the while keeping the grounds in perfect shape.
He was a prodigious writer who freely shared his knowledge with both the professional horticultural community and the home gardener. After his retirement, he wrote the Pembina Hills Flora, from which he had collected, identified and catalogued more than 570 species in more than 200 genera of plants. He had a strong connection to the land where he grew up which began when he was very young.
In 1974 he received an Honorary Doctorate of Science from Brandon University, the same day on which his son Rick received his Bachelor’s degree, becoming the fourth of Henry’s sons to earn a university degree. In 1981 he was part of a five member delegation to collect seeds and plants in China. In 1989 he was presented with the Stevenson Award and in 2000 was posthumously inducted into the Manitoba Agricultural Hall of Fame.
“From the days of observing wild plums as he walked to school in Miami, to trekking the gullies and fields of the Pembina Hills, to climbing slopes in China, Henry was always aware of the plants around him.” Lynn Collicut
Henry Marshall
This column is provided courtesy of the Saskatchewan Perennial Society (SPS; saskperennial@hotmail.com). Check our website (www.saskperennial.ca) or Facebook page (www.facebook.com/saskperennial) for a list of upcoming gardening events.


")
")
")


")
 (Part I)")


")
![Peonies a Plenty! [Part II]](https://paherald.sk.ca/wp-content/uploads/2023/11/RR-A08-Paeonia-fernleaf-peony-in-bud-BB-768x576.jpeg "Peonies a Plenty! [Part II]")
![Peonies! [Part I]](https://paherald.sk.ca/wp-content/uploads/2023/11/RR-A08-peony-root-and-buds-Univ.of-Penn-Extjpg.jpg "Peonies! [Part I]")

